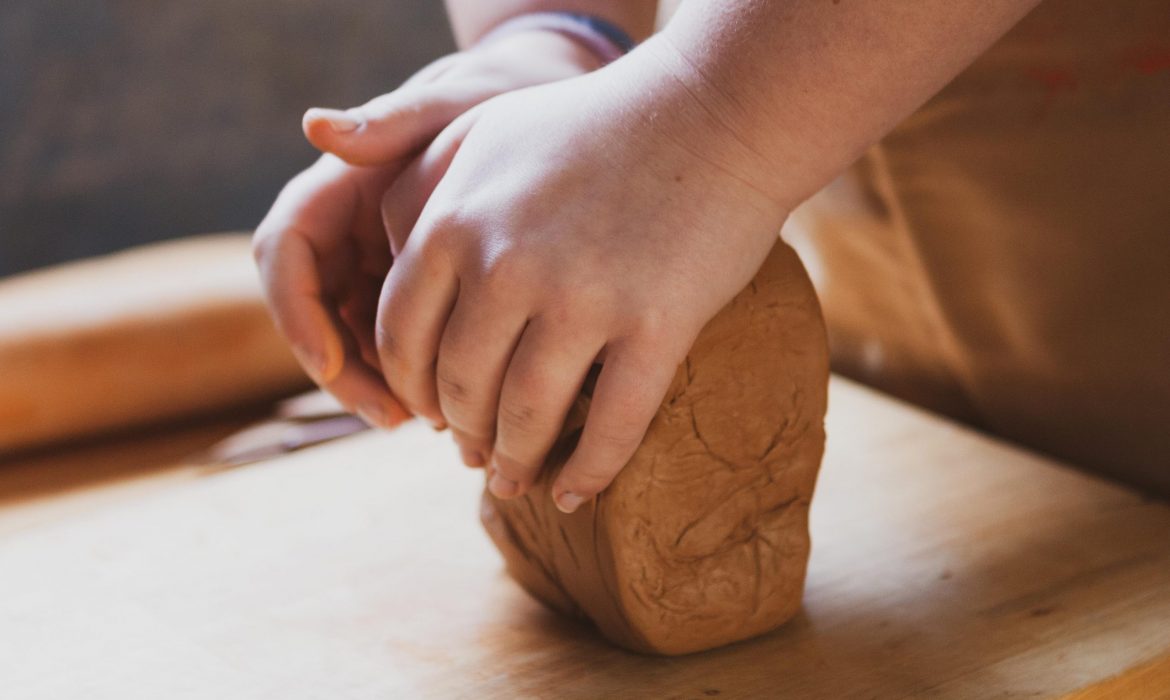
Hand buildings described as building with clay directly from your hands, without the assistance of a wheel. Following are some foundational skills to hand building that can and have resulted in large masterpieces.
Before you start hand building your masterpieces, quickly sketch out what shape you want your vessel to take, this will help guide you in selecting what techniques you will use, and assist in where to start and be resourceful to reflect back on.
PINCH POT
PINCH POT
If you haven’t built with clay before this is a great technique to start with.
Pinch pots are fast to build and a versatile shape, you can make mugs, bells, bowls, flower pots ect.
The beauty to the organic shape of a pinch pot is that it is a blank canvas allowing you to explore different designs techniques. This is where having a sketch comes in handy, assisting you to allow for any design or added structures, eg patterns or handles
SLAB WORK
SLAB WORK
There is a bit more involved in making slabs, and without a slab roller it can be a bit tedious. However this is my preferred technique in hand building.
I enjoy watching how fast the vessels take shape and its amazing what you can hold from a sheet of clay.
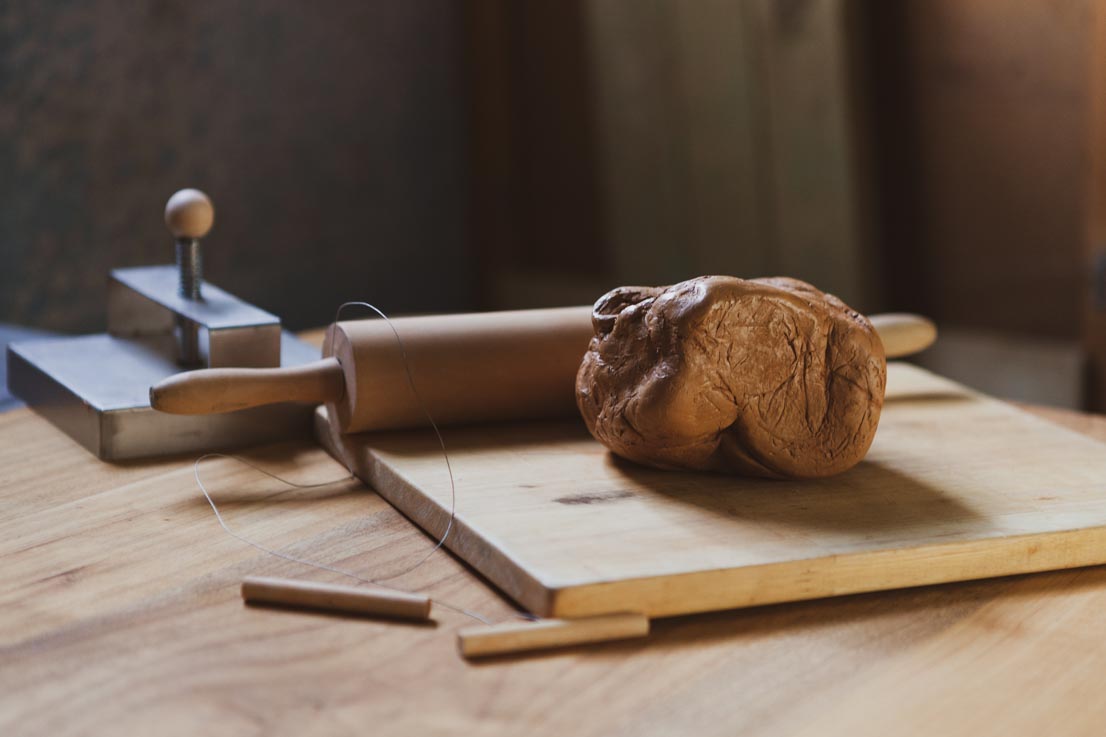
For a slab, you will need.
Rolling pin or heavy glass bottle
Two sticks, same in length and width
A mat or board to make easy to lift
Make sure you rotate the clay when you’re rolling it, its important so that when you join your pieces together the clay molecules grip together.
COIL POTS
COIL POTS
If you liked making worms and snails from play dough as a kid, this technique is for you!
I suggest you make up a batch of coils, because once you get constructing you won’t want to stop.
The base of a coil pot can be made from a slab or coils by using the snail method you likely would have made from play dough, followed by adding coils one after another to build up the structure of your vessel.
Make sure all your coils are approx the same width
Apply the cross hatching technique and slurry in-between coils
Keep unused coils covered as they will dry quickly
Creating with clay can be a test of resilience it can take a lot of experimenting, practice, trial and error to get the outcome you want.
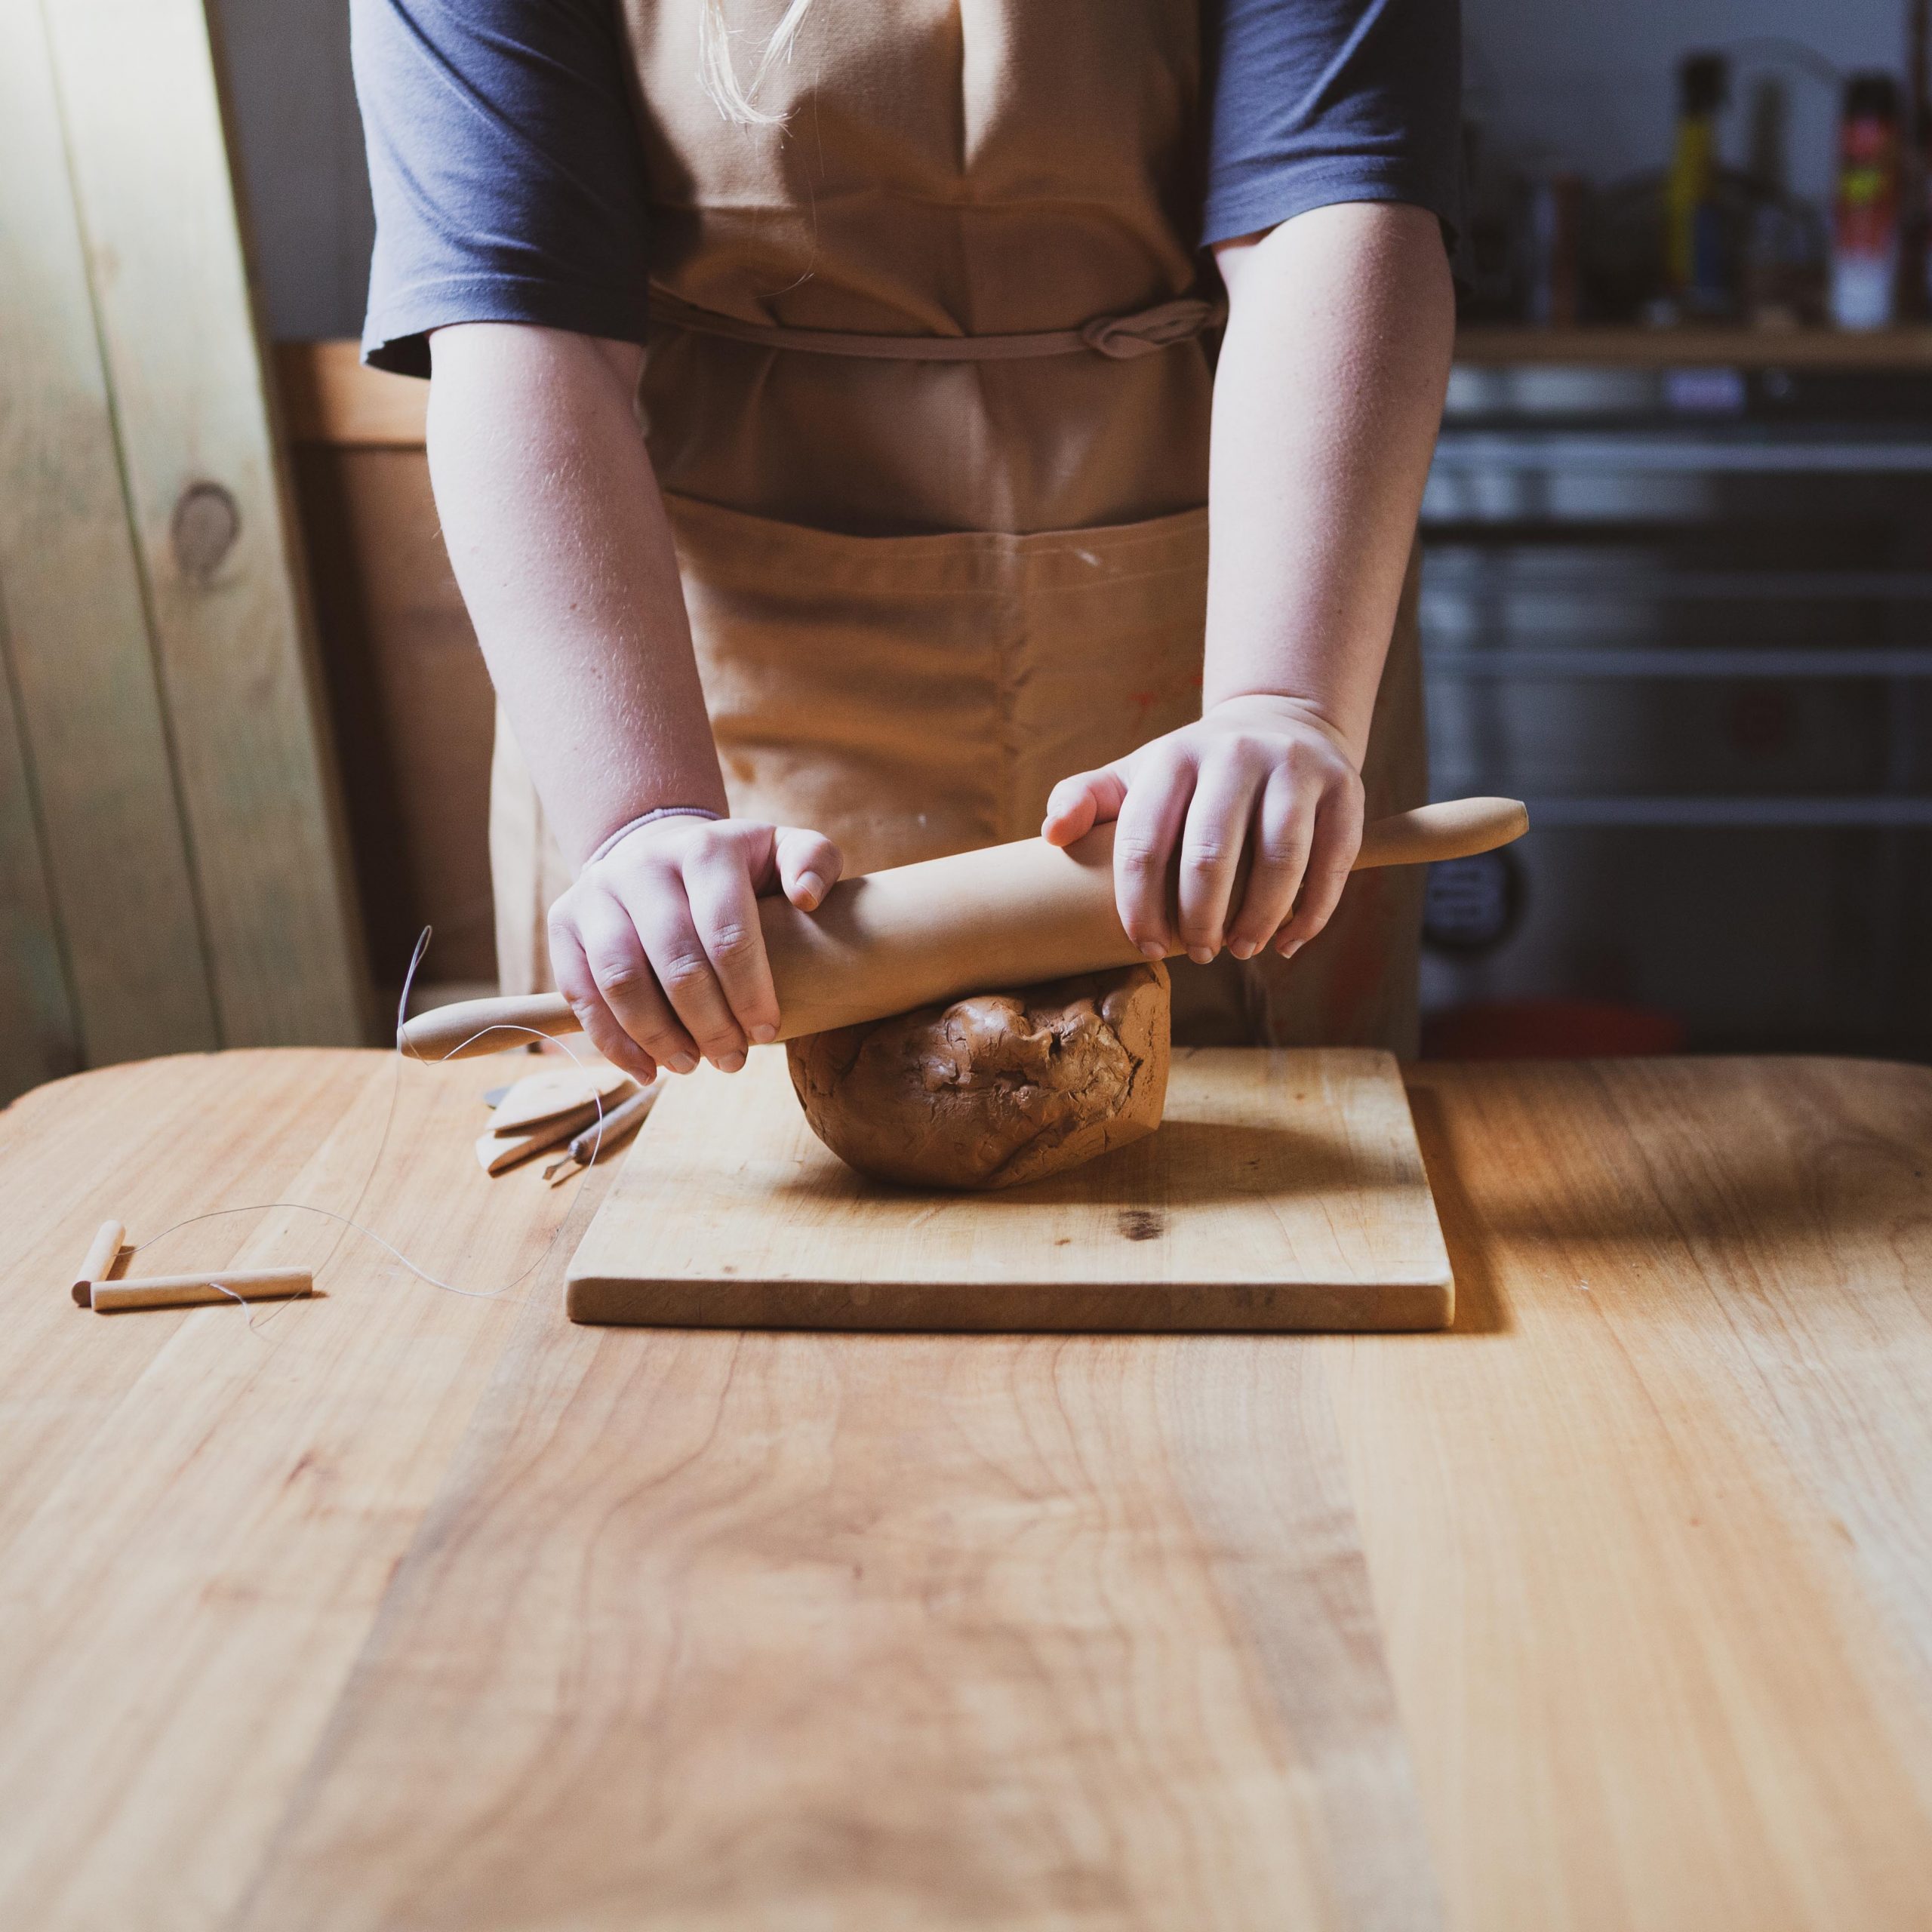
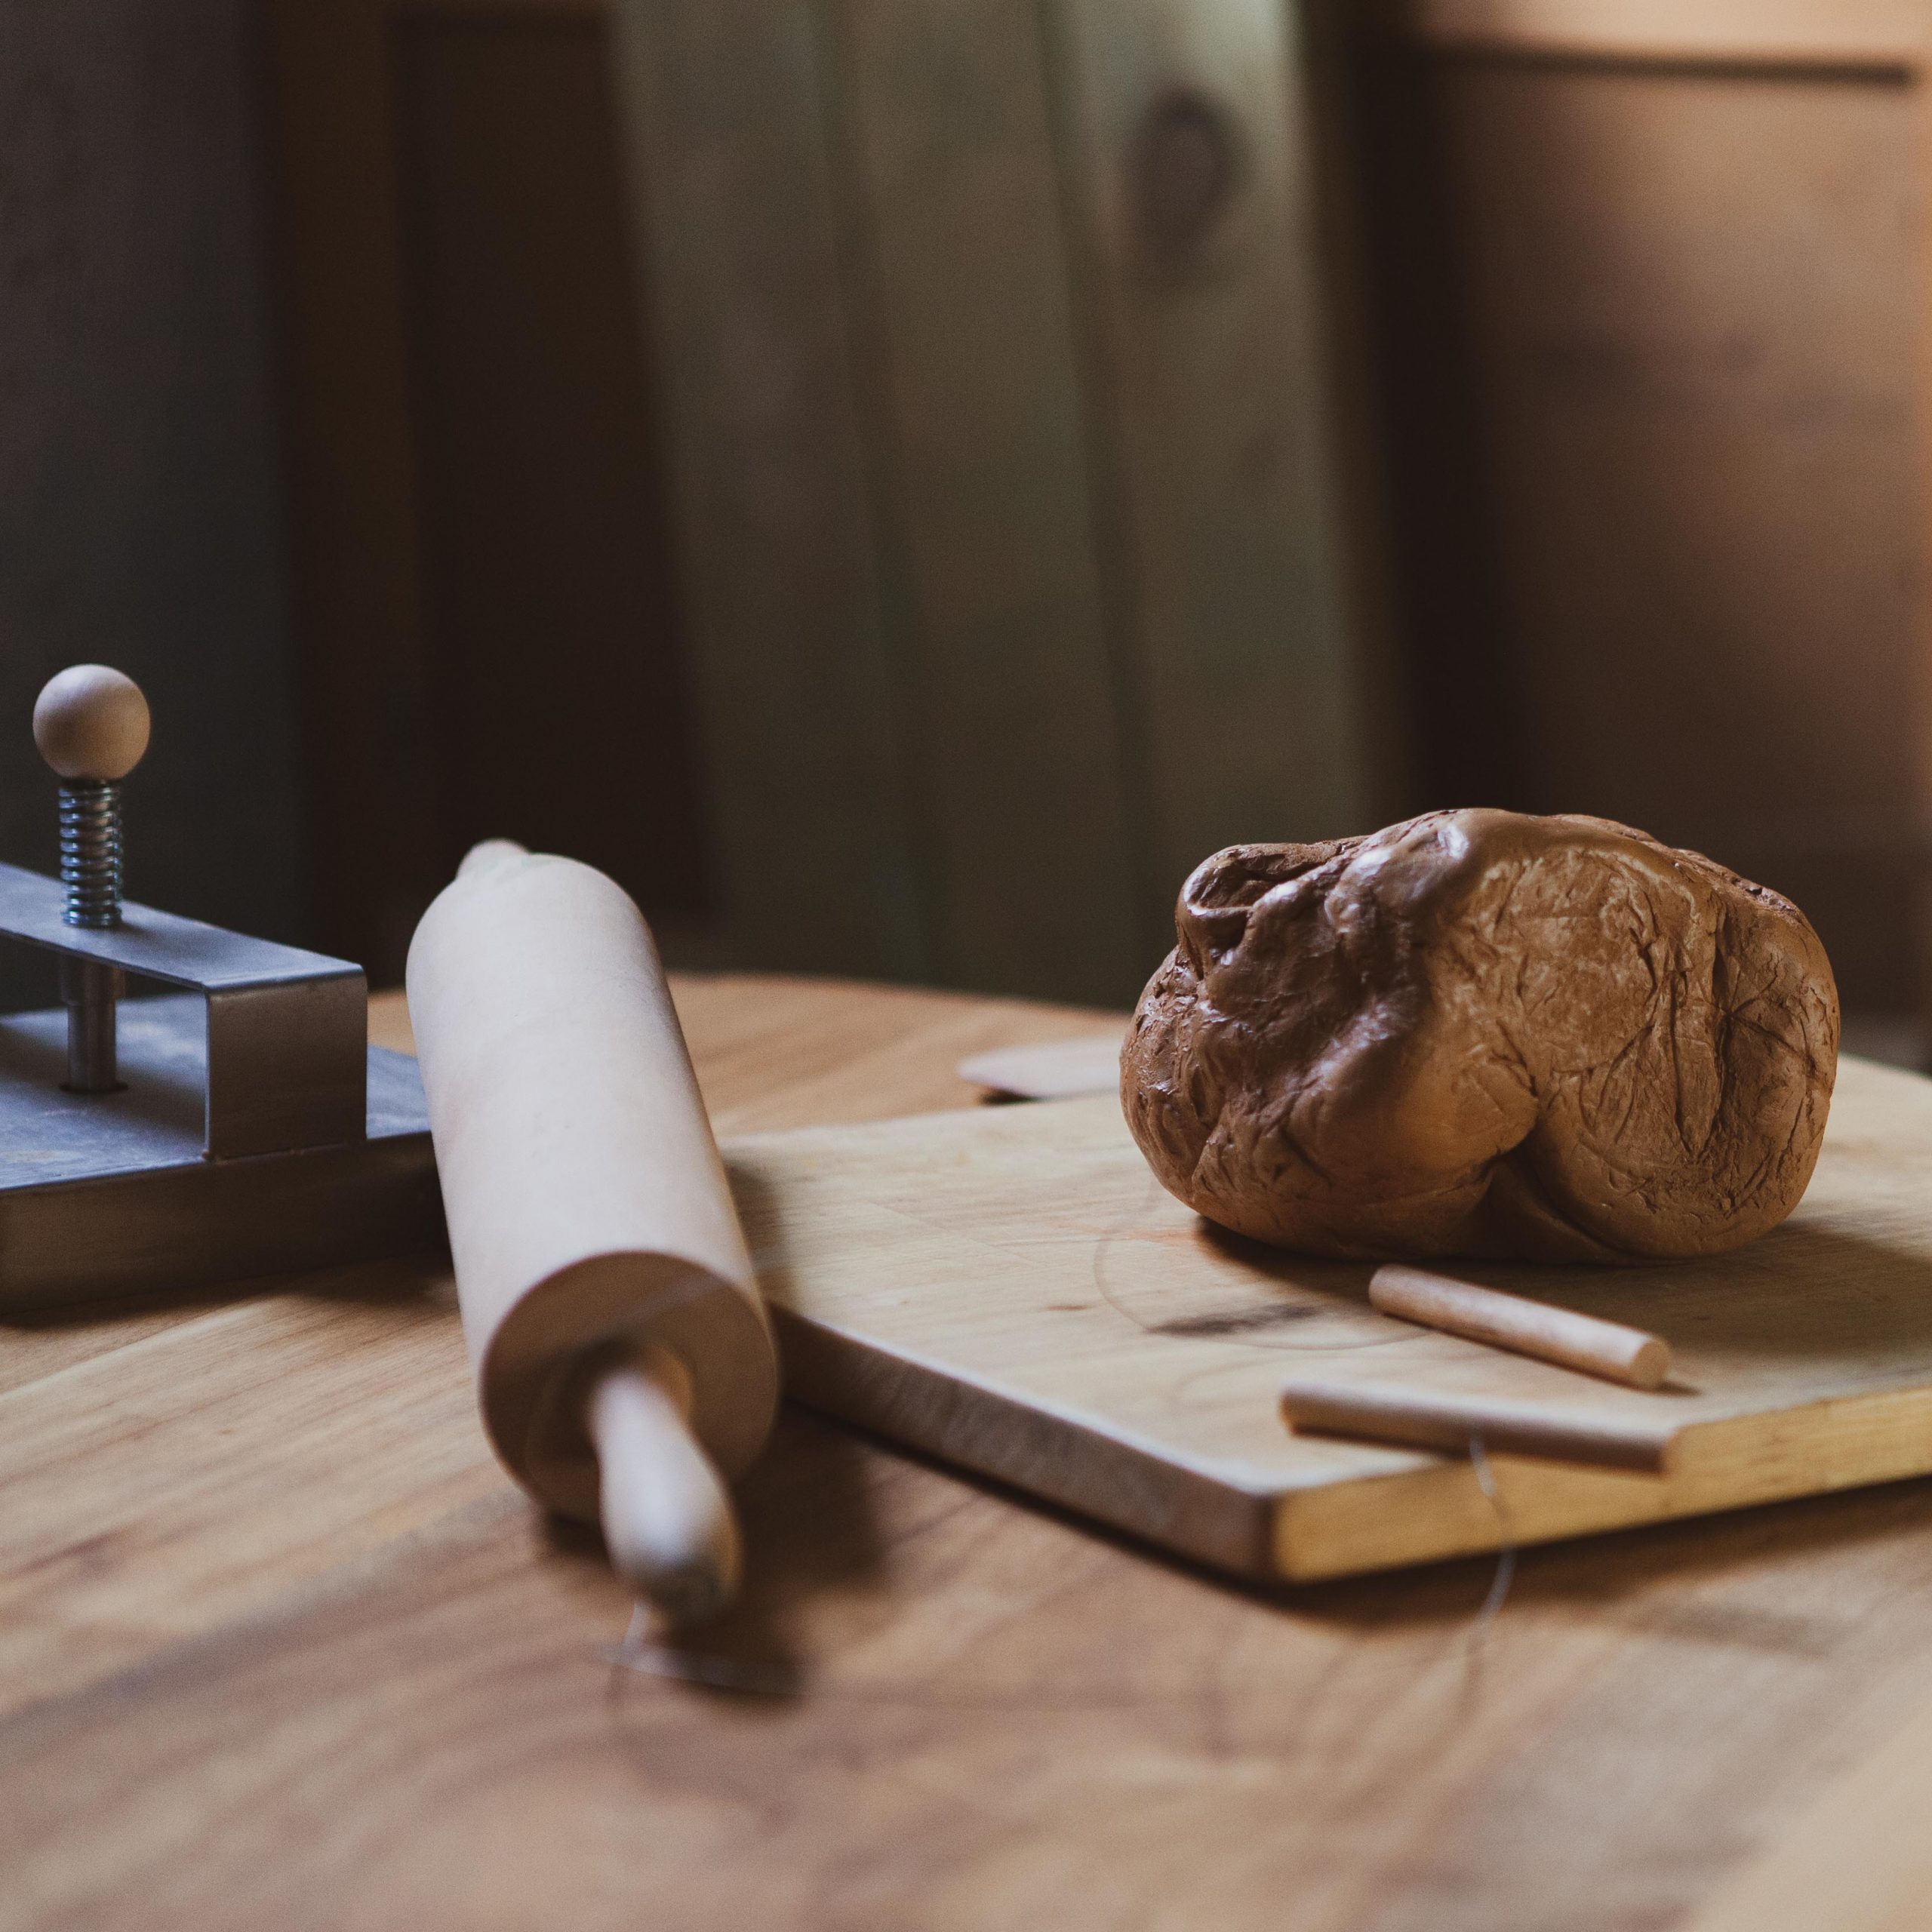
To ensure you achieve your intended results, the best process you can do before you start building is wedging the clay. Wedging the clay pushes any little air pockets that in the clay out.
Air pockets may cause cracks or result in your clay vessel exploding during the firing process. Wedging the clay also works it into a lovely consistency to hand build with. This process should be done with new clay, fresh from the bag and most definitely with previous worked clay.
There are a few ways you can wedge clay, in the video I use the rams head technique.
JOINING PIECES TOGETHER
SLURRY AKA SLIP OR CLAY GLUE
All you need to make your slurry is the following
Keep all dry and wet scraps
Equal amount of water
Combine and stir till smooth consistency of thick custard
Store in air tight container
Before you know it, you will have sooo much slurry you’ll run out of containers to store it. Thats ok, you can reclaim clay, meaning you are taking it from this thick custard constancy to the original solid piece you started using, ready and suitable to create more clay vessels from.
All you need to do is tip it on to a flat surface to allow the moisture to come out of the clay, once you are able to handle it, begin with the wedging process again.
JOINING PIECES TOGETHER
CROSS HATCH AND ATTACH
When joining any two pieces of clay together, it’s important that you cross hatch and attach them together as seen in the clip.
Cross hatch along the two edges/sides where you want them to join
Apply a the slurry to one side of the join
Wiggle the pieces together till you feel them join
Clean the excess slurry and lines of the join
The pieces should hold together and not come away easily
Make sure your clay is firm, like leather so it holds its shape. When you are applying slurry you adding moisture to the clay and this can impact the integrity of the structure.
My creative background is in photography but my passion for creativity is certainly not limited to it.
Recently offering art therapy programs online that utilise different art mediums and techniques I wanted to provide a resource that offers you the opportunity to build on those skills and encourage you to engage in a creative practice in your own time.
On this page you can find what you need if you’re inspired to use clay. I will continue to build on this creative resource. If at anytime you have any questions or suggestions don’t hesitate to email me.
Thanks
BEFORE YOU START
BEFORE YOU START
There is no doubt that clay is one of the more sensory art mediums that you can use, thats why its favoured by so many as a fun creative outlet that enhances grounding and the outcomes and rewards are amplified as your vessels are made directly from the touch of your hands.
However it’s the sensory nature of clay that it can also make the creative engagement triggering. Its really important when using clay as a medium, you are a witness to your responses physically and emotionally, regular checking in with yourself to ensure you’re ok.
In the case you are not, either notify myself or someone that is supporting you.
To prevent blocked drains, make sure you wash your hands and clay tools in a bucket or under a garden hose before cleaning them in house sinks. Earthenware Clay is mud and is safe to toss on the garden or grass.
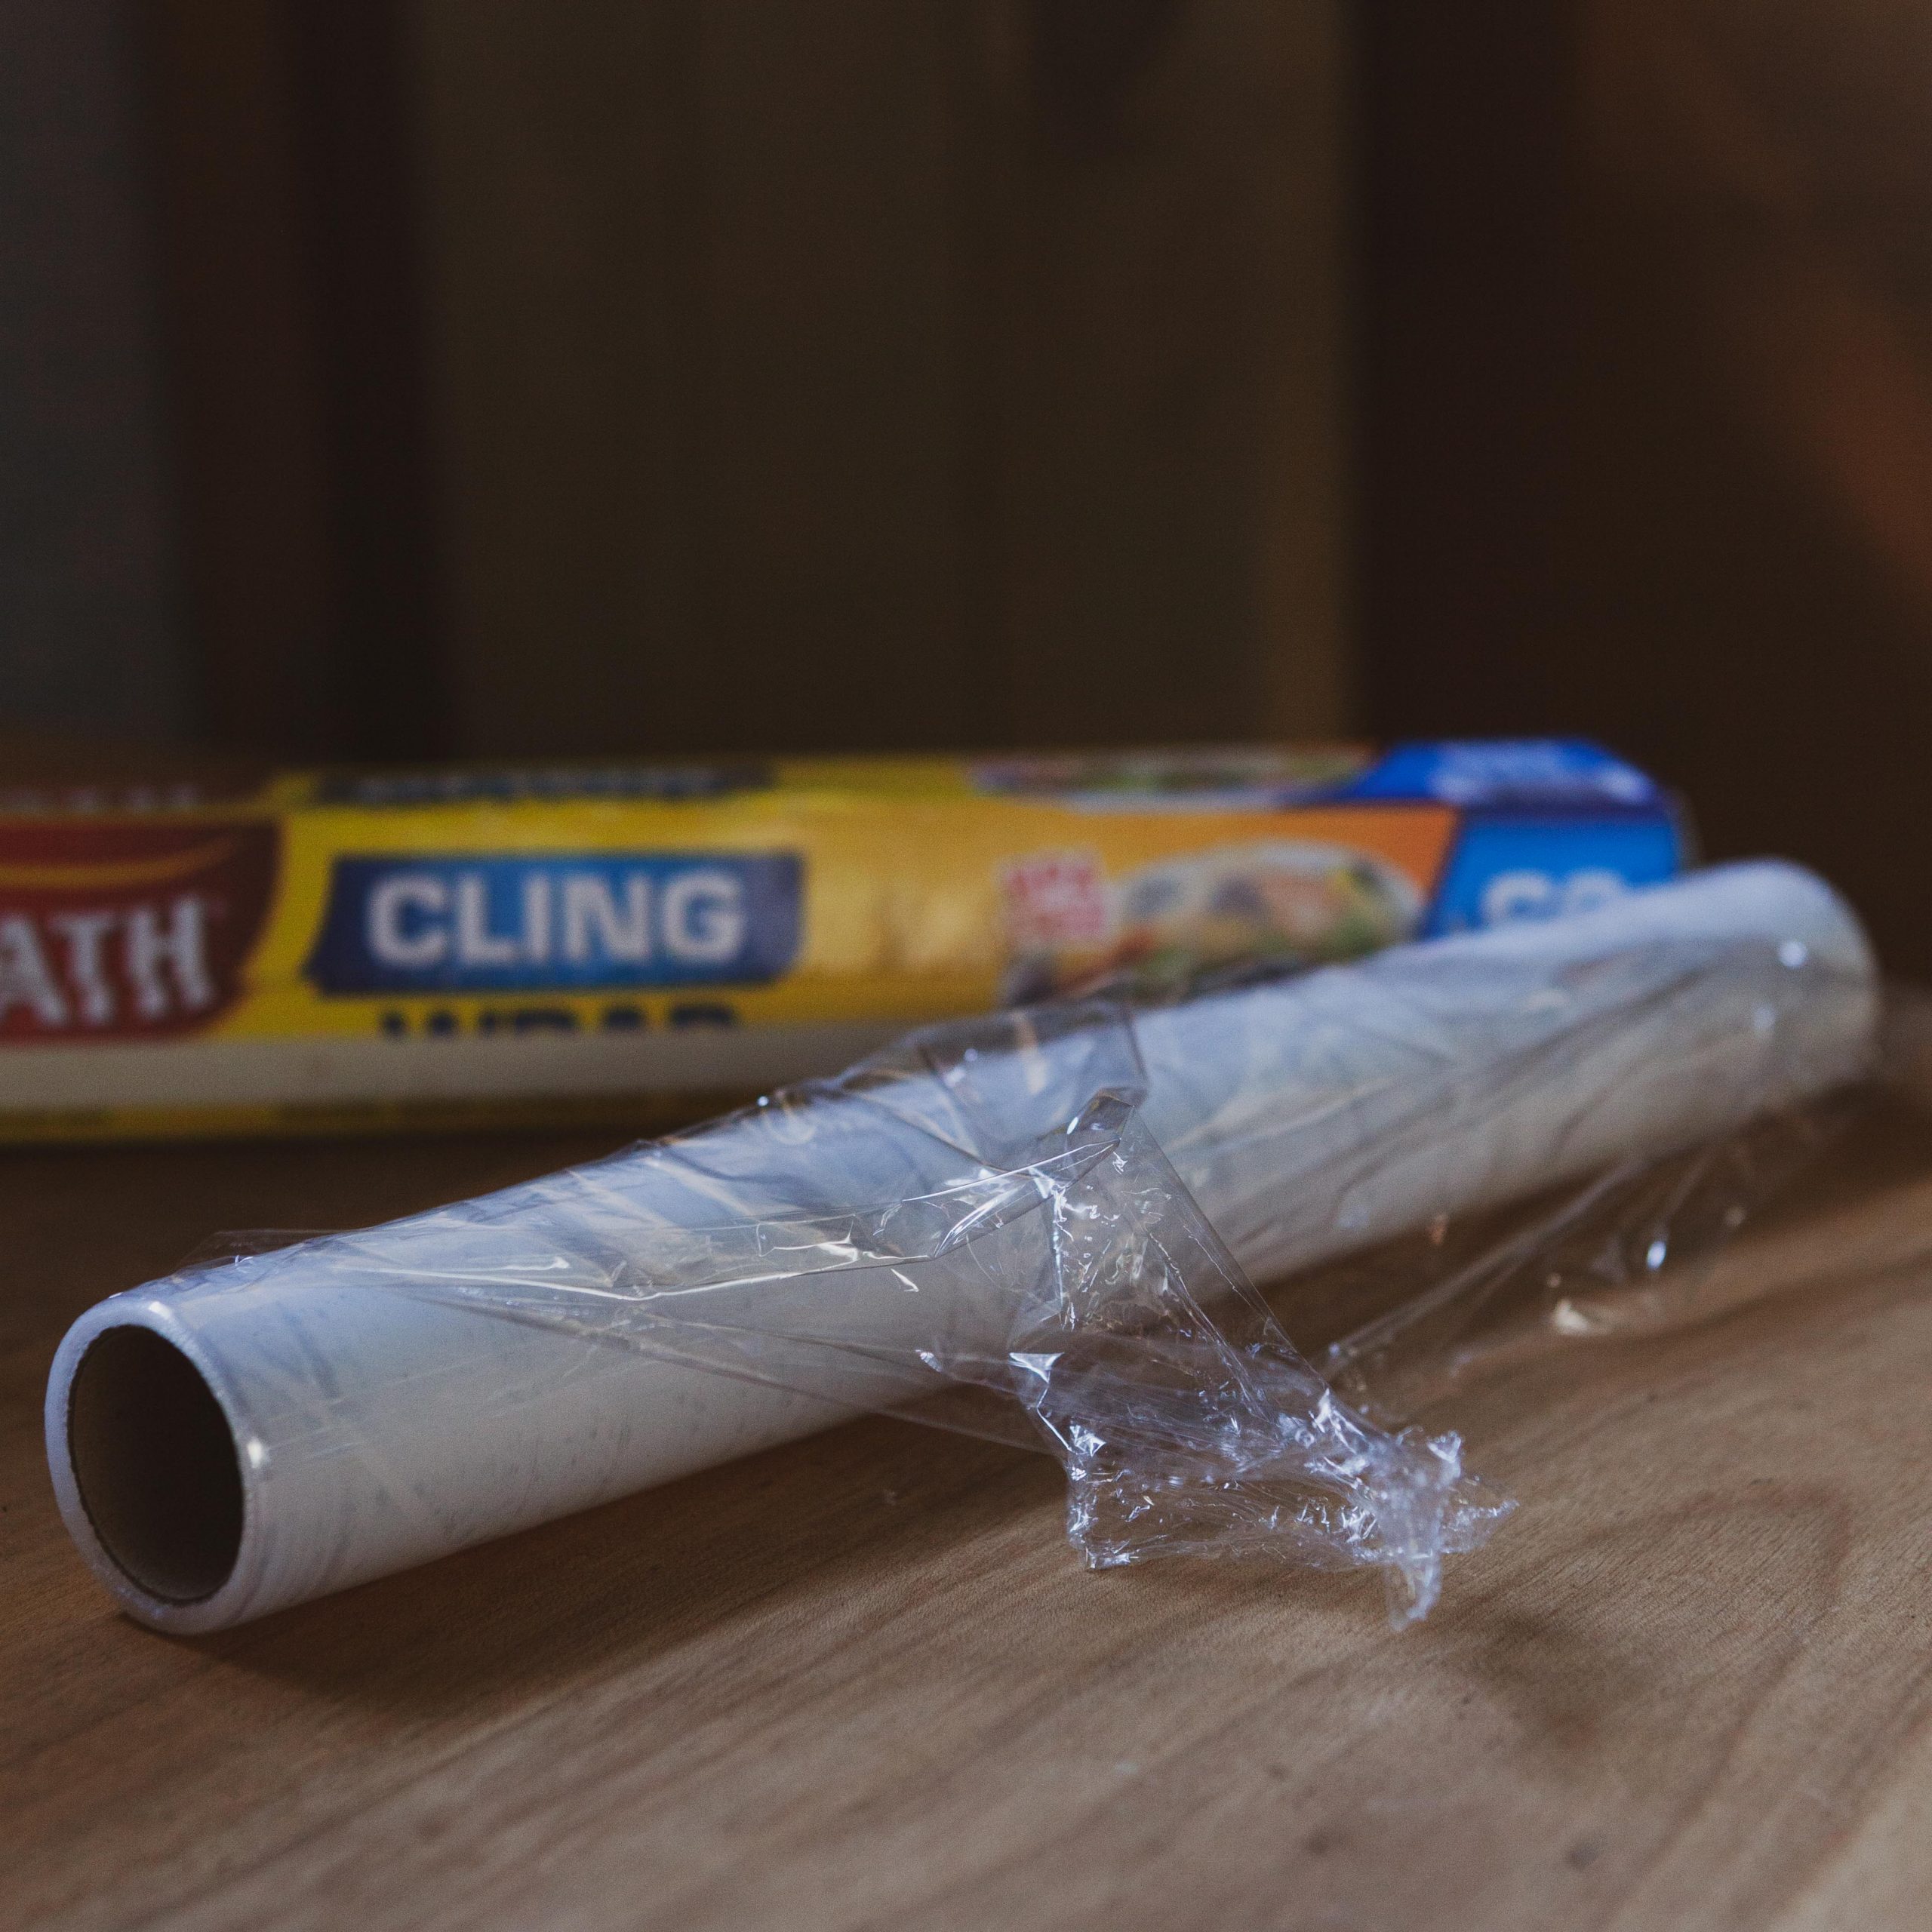
If you want to take a break from building, make sure you wrap your clay pieces up as air tight as possible to prevent drying out, and make sure you slightly dampen work before wrapping. Cling wrap can also be used to wrap unused clay. Store clay in a dark cool place.
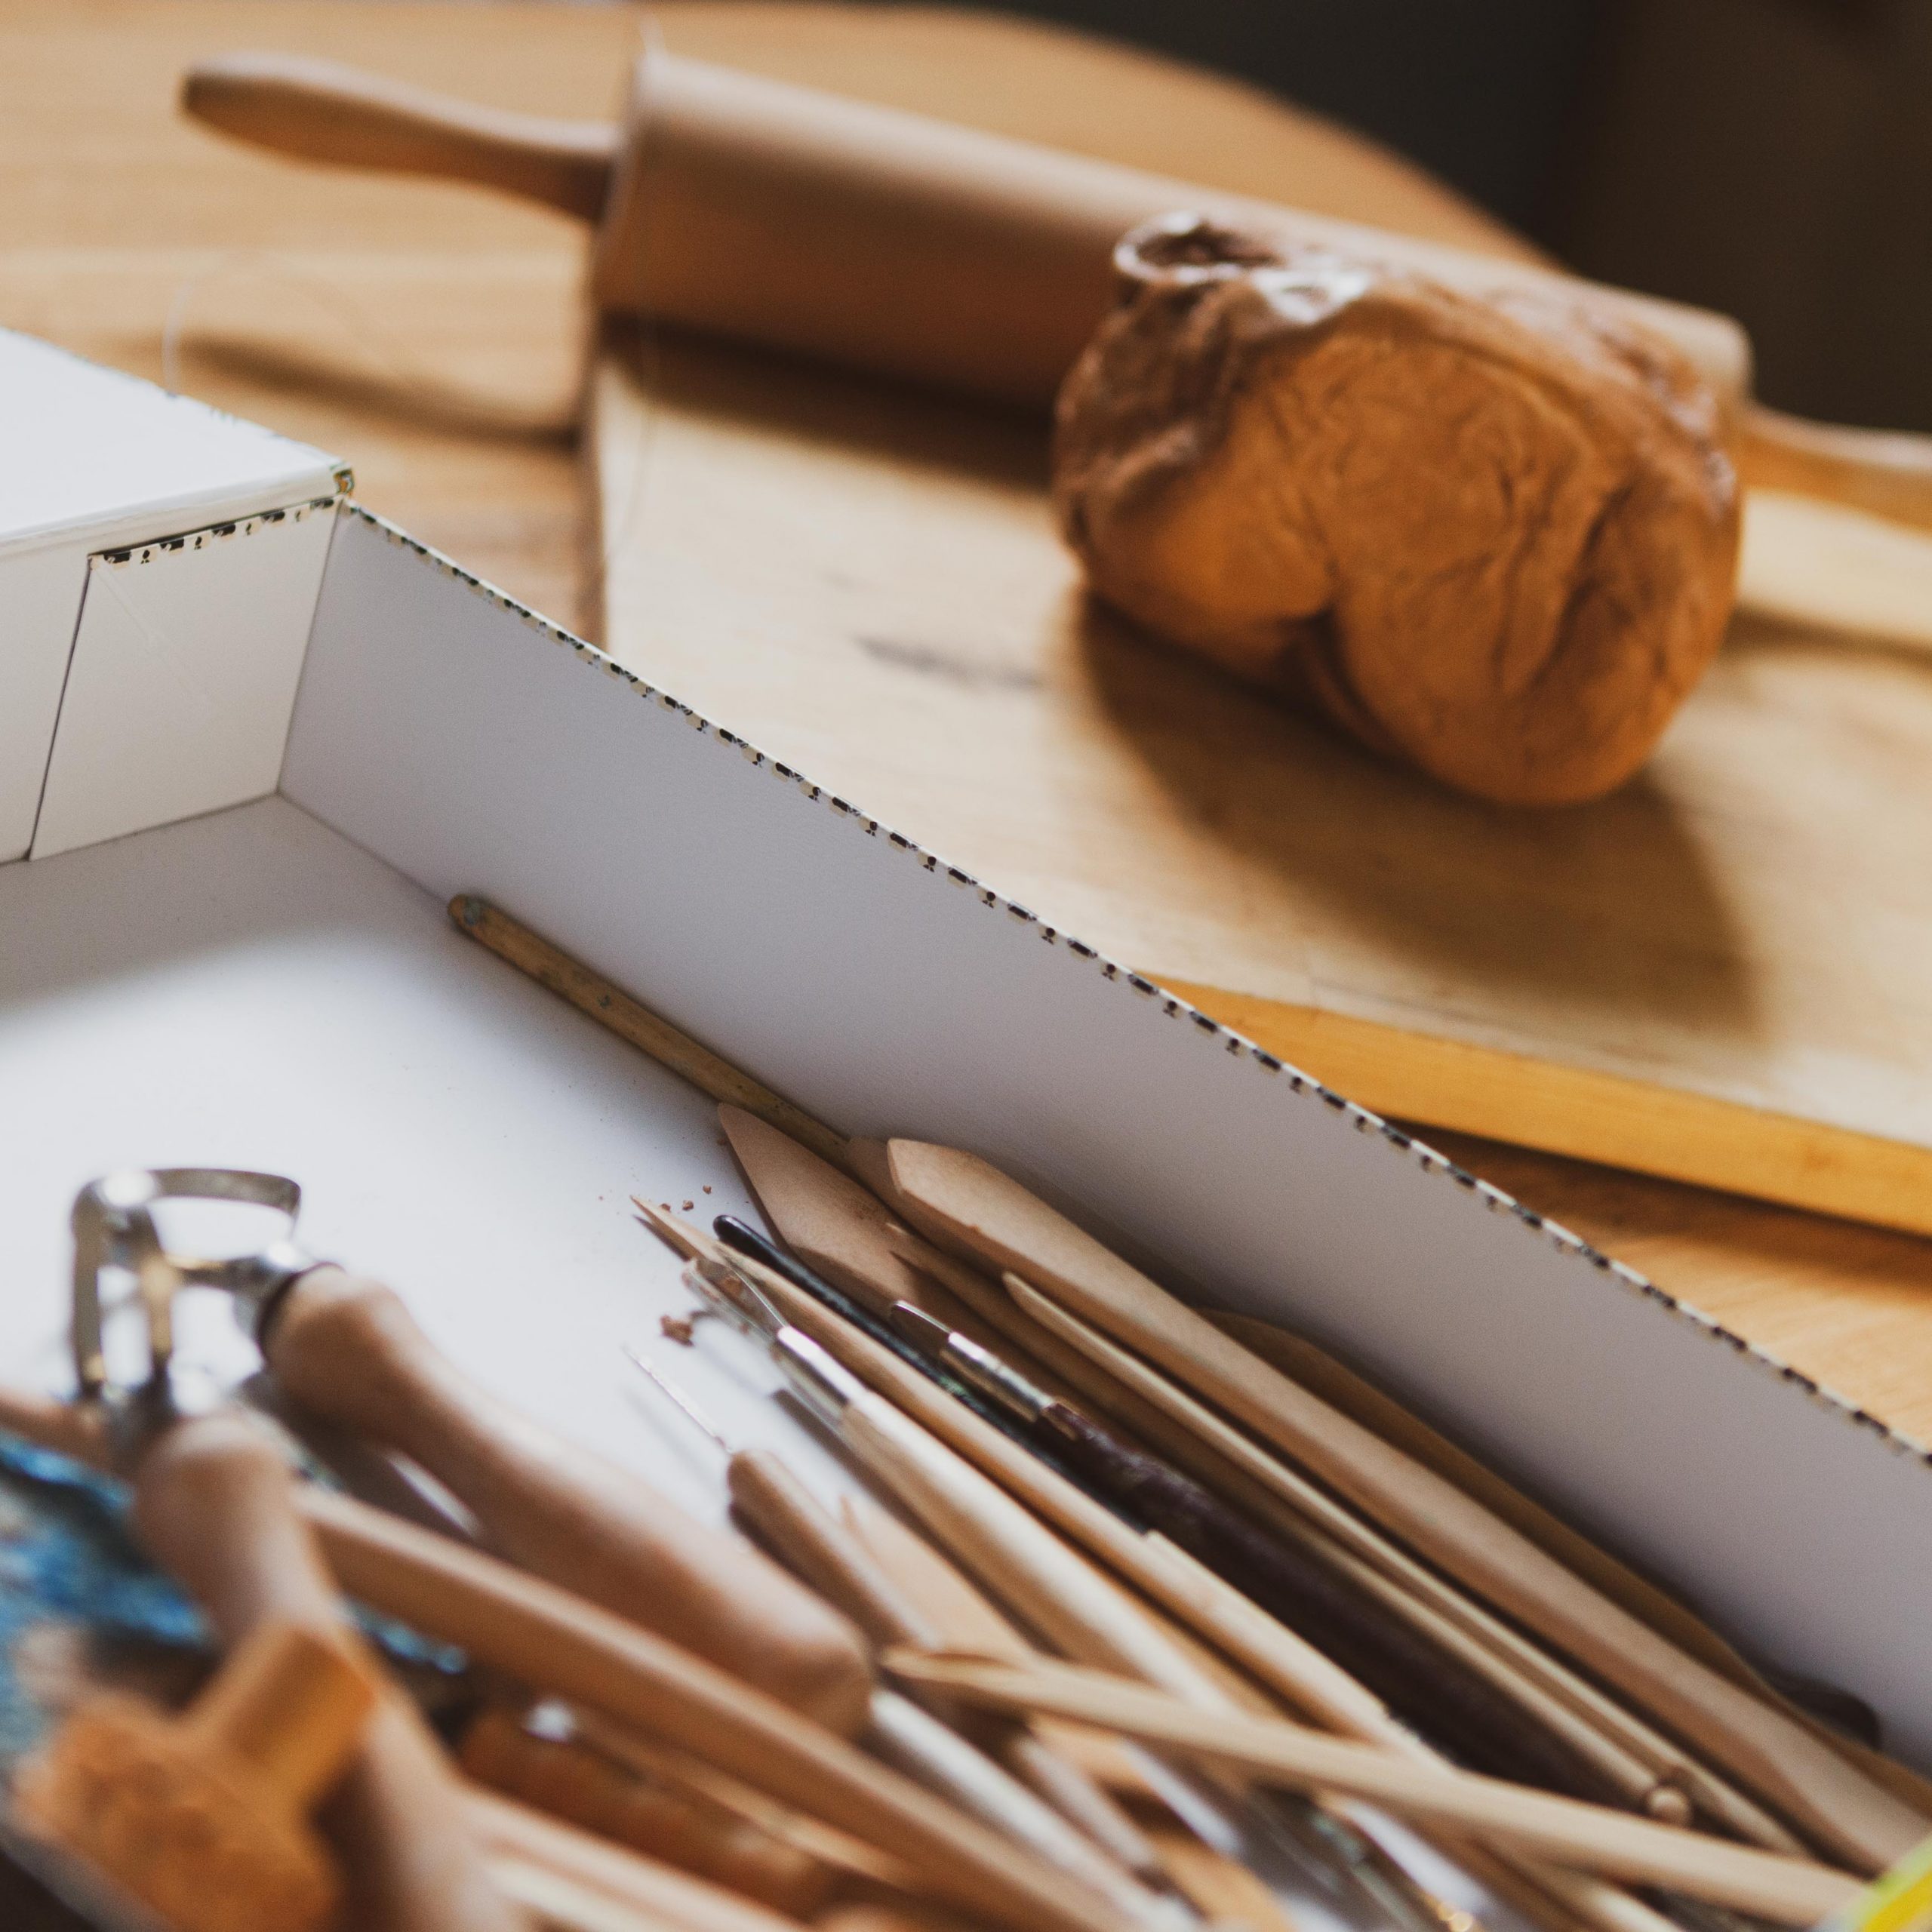
Clay tools aren’t limited to what’s in your kits, get creative and look around the house and garden for tools that will make great shapes, patterns and designs.
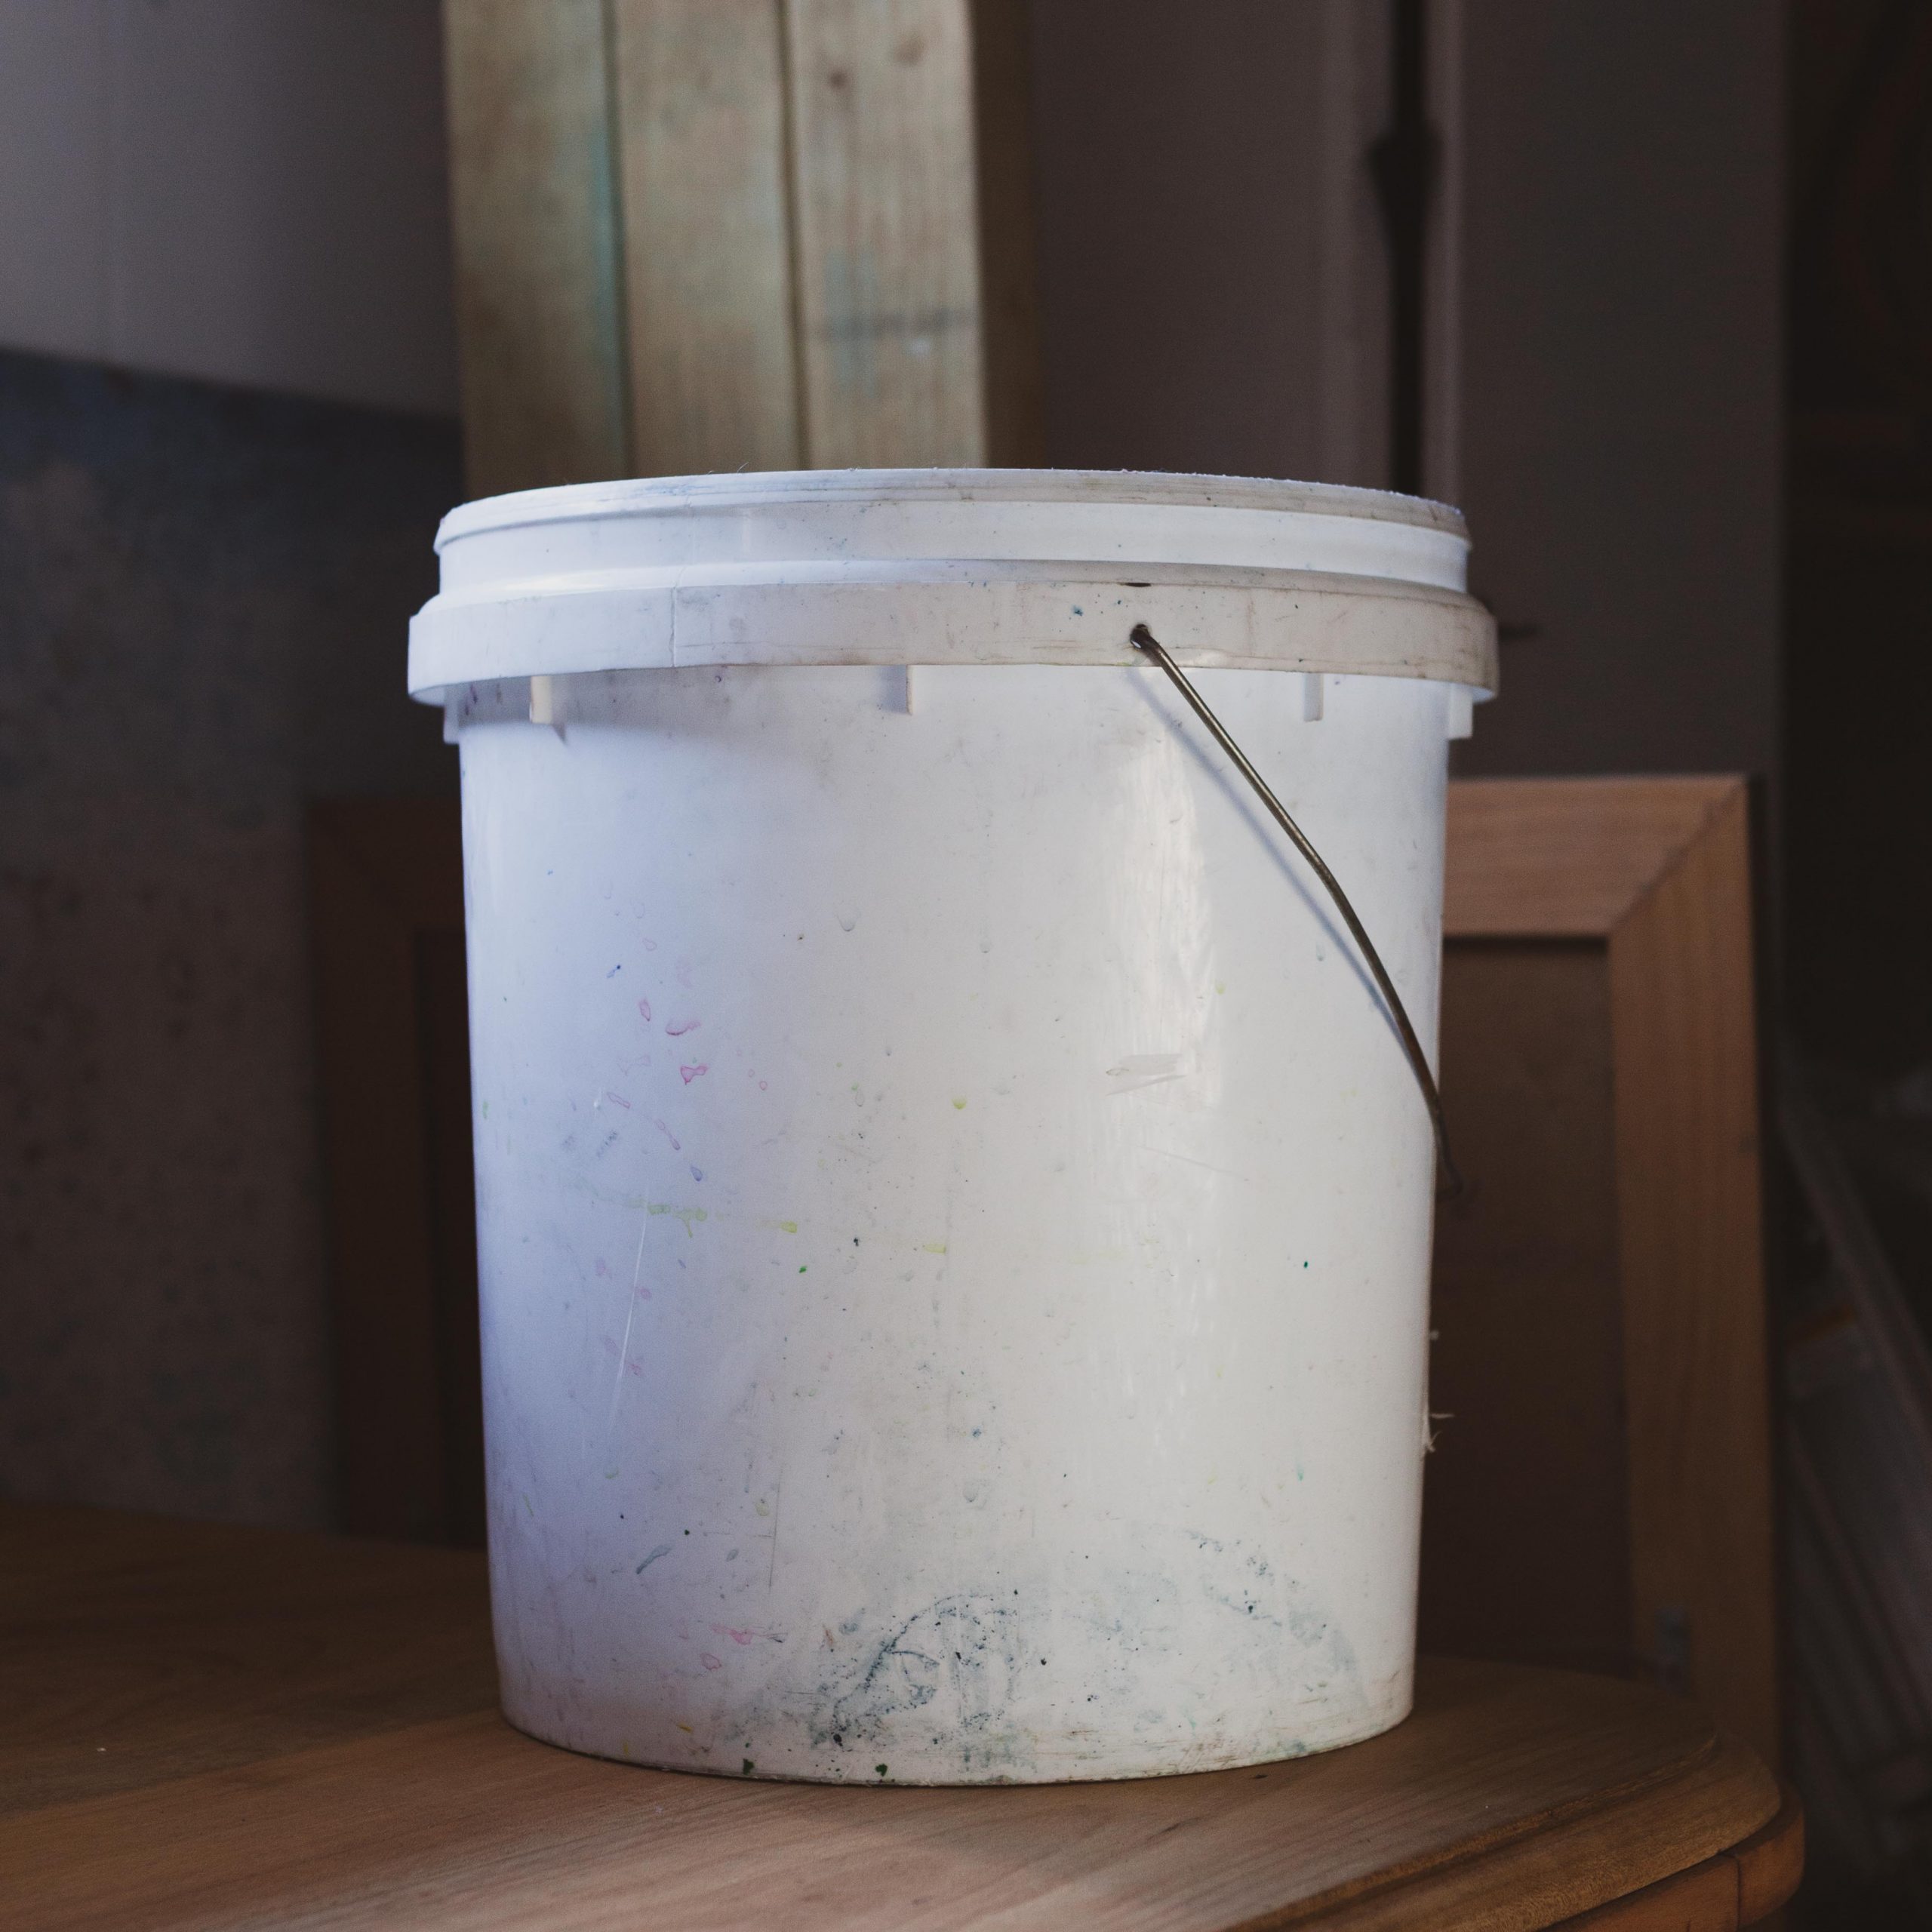
You will need at least two containers. One for water, keep sponges, and tools in while working, can also be good for a quick hand rinse. The second one is for all clay scraps, try and keep all clay cut offs, clay can be reclaimed and you need some scraps to make some slurry (clay glue)
I LOVE a creative mess, but its not for everyone, an apron can help keep you clean, act as a hand towel drying and getting excess clay off your hands. Although clay will wash off, I suggest you DO NOT wear your favourite wardrobe and steer away from wearing anything white.
If you have access to using a board to construct your work on, make sure you do. This will prevent damage to your work and make it easier to relocate if you need to pack it up and during transport for firing. A vinyl mat is ideal as well.
Make sure you clear off an appropriate amount of space away from clutter and distractions, preferably a space where you won’t be asked to move in a hurry.
Give yourself permission to disconnect from digital for at-least 20min, that means, no social media, no phone calls or text messages… turn off the TV and close down the laptop. Being in the moment is a gift, set yourself up so you can experience it.
The only exception to the disconnect from digital. Either put in your head phones or turn on a speaker and find a playlist that relaxes you.
If you don’t know where to start, I like to listen and create to, Acoustic Chill or if I m wanting something with a bit more mood and no lyrics, there are a lot of meditation and instrumental playlists available on Spotify, I gravitate to a lot of piano eg Olafer Arnalds or Michael Nyman.
But don’t feel like you can’t put on some Disney classics and belt it out at the top of your lungs! this is your creative practice, do what’s right for you! and if thats the case I suggest Unchained Melody is at the top of the karaoke list, anyone that was born before 1990 can tell you why. Just be mindful of your neighbors
Have the bucket to wash your hands and tools full of water and ready to go. Assemble everything else so its easy to reach and access so you don’t distract yourself in your creative practice to find a tool.


